
Black and white film development is where it all begins. This is where you get to make your images into a reality. This practice, which used to be quite commonplace, is a bit of a dying art these days. I thought I would give you a basic overview of the process. Whether you’re getting back into the film development or you are a new comer, please, feel free to look over the tutorial – and get ready to make some magic, because that is what developing your own film is my friends, magic.
Step 1 - Before you Start
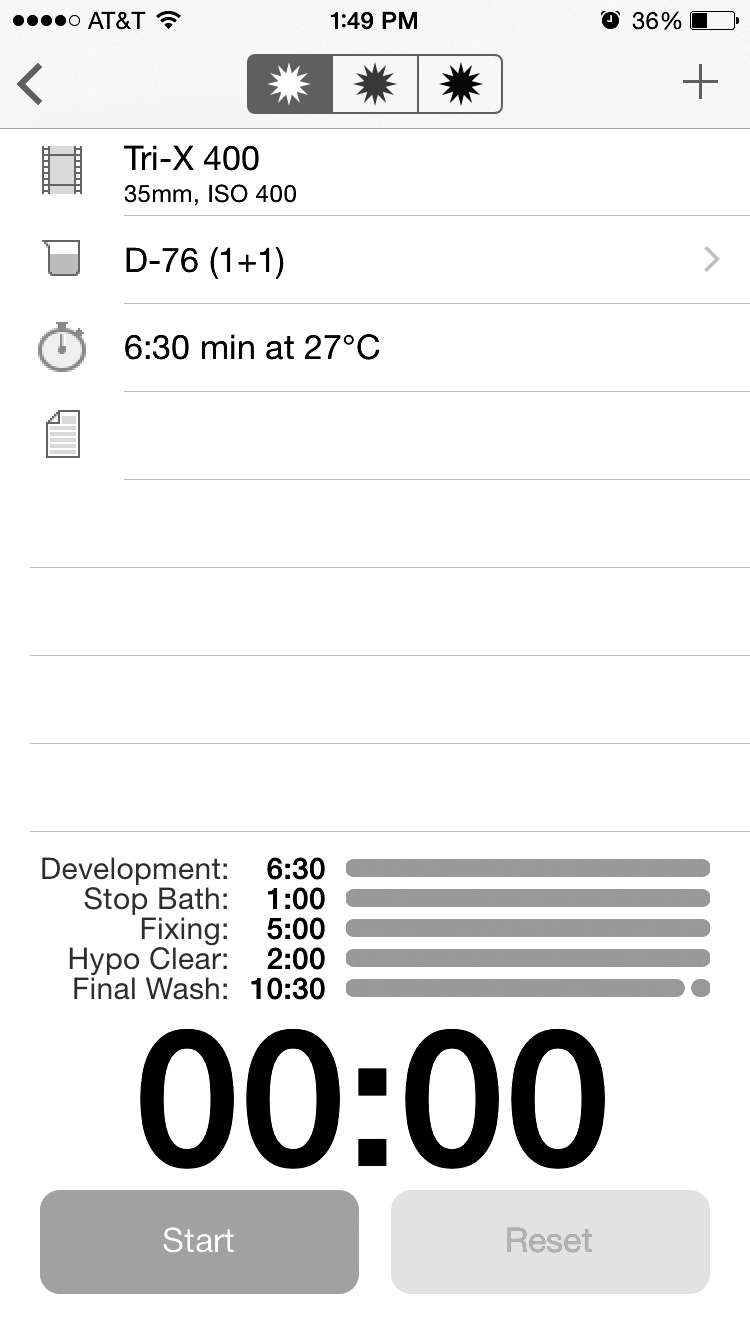
One of the most important tools you’ll need is the Massive Developer Chart. This can be obtained through an online guide or via your phone or tablet as an app. The online guide is a free resource that will allow you to plug in almost any type of black and white film imaginable, along with nearly any type of developer, and gives you an accurate information about how long and at what temperature you should develop your film. The app is a bit costly at $8.99, and performs the same function as the website but I’ve found it most useful because it comes with its own built in timer. It is my go to app for film development.
-The app http://www.digitaltruth.com/apps/mdc/
-The Online Guide http://www.digitaltruth.com/devchart.php

Step 2 – The Supplies
Although quite affordable in the long run, you’re going to have to lay down a little under $100 to get started on your black and white film developing journey. So, let’s talk about the things you need…
Chemicals
-Developer (I’ll be using Kodak D76) $5.79 for a packet that makes a gallon
-Fixer (Ilford Rapid Fix is my favorite) $9.95 for 1 Liter
-Wetting Agent (Kodak Photo Flo is the way to go) $7.99 – this stuff will last forever
-Distilled Water (Easily found at any neighborhood grocery store) $1
The Equipment
-Tank (Samigon Stainless Steel Tank with Plastic Lid for 2x35mm or 1x120 Reel) $29.95
-Reels (Samigon 35mm Stainless Steel Reel) $14.95
-Scissors
-Bottle Opener
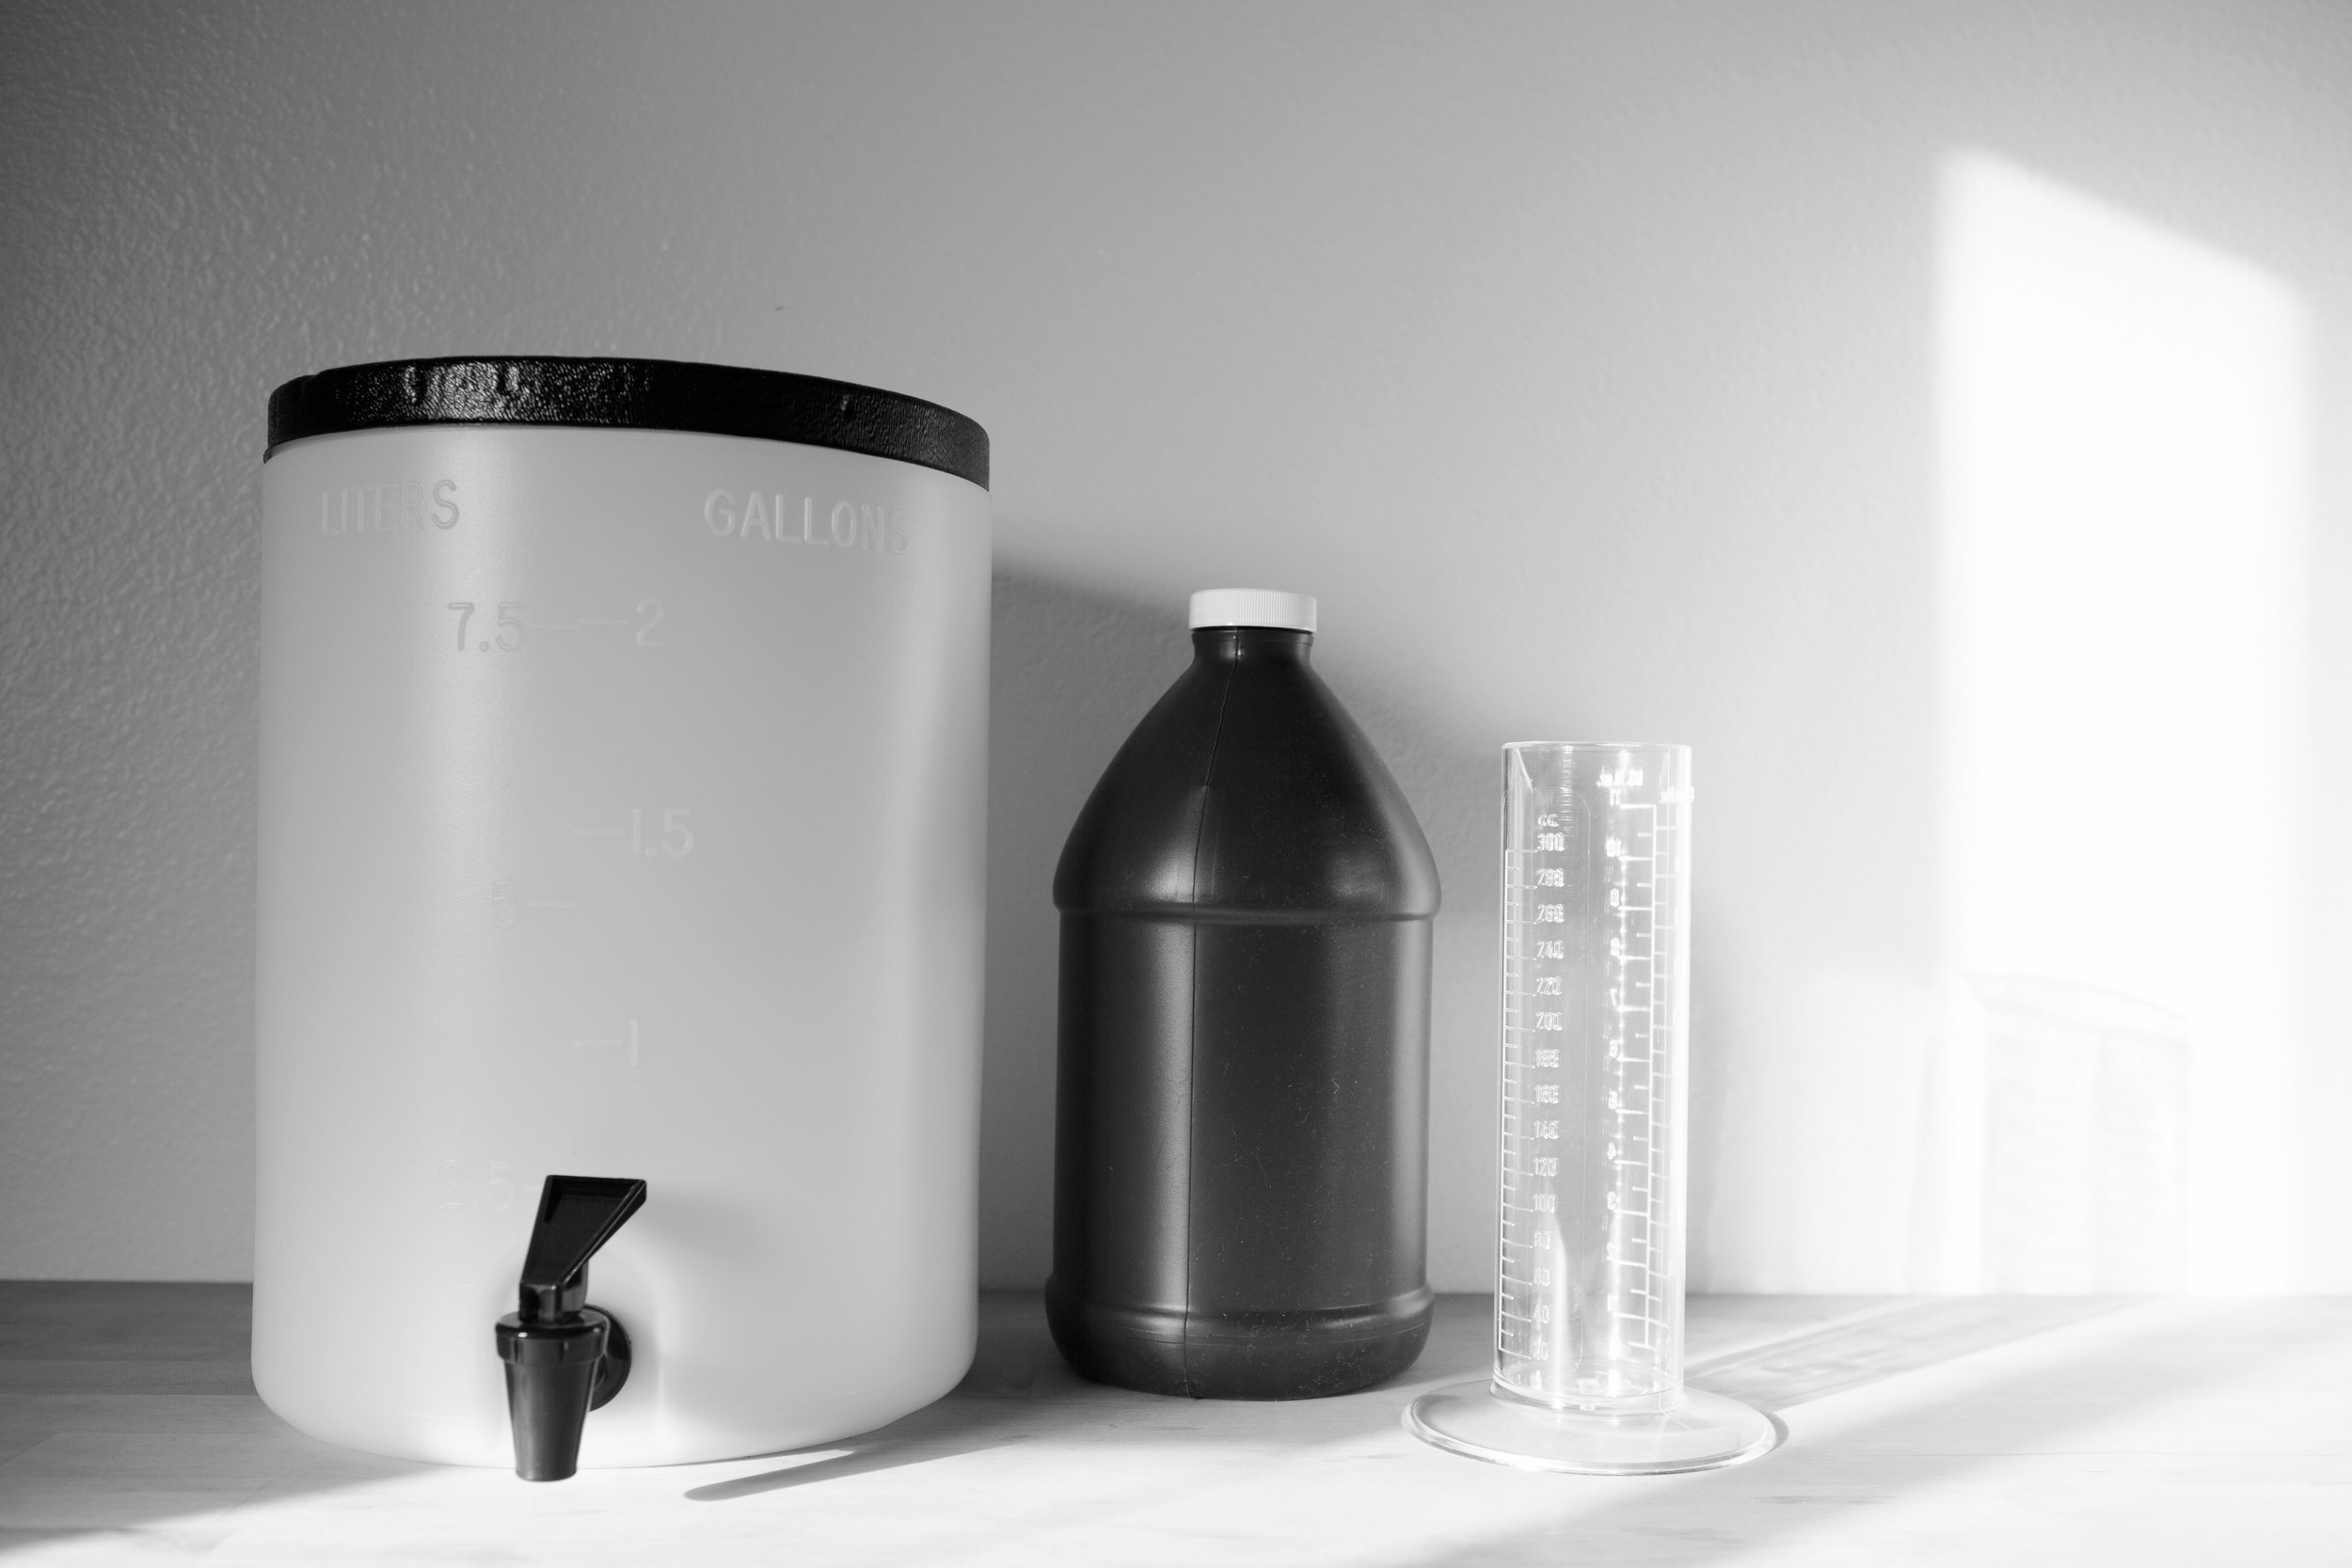
-Measuring Containers ~$10
-Thermometer (I bought a food temperature one that works just great)
-(2) 1 Gallon Tanks – You can get creative here and use really well washed out milk jugs, really, anything that can hold a gallon is prime . I personally have a two gallon plastic storage tank. But really anything that is clean and can hold the chemicals will do.
-Dark Bag or Dark Room (I use my bathroom because it’s light tight and dark)
-Massive Developer Chart $8.99
*all prices for supplies come from http://www.bhphotovideo.com (circa 2015)

Step 3 - Loading your film
This has always been the scariest part of the process for me. Either you put the film on the roll right, or you don’t. Luckily, it’s pretty easy to tell if you’ve done it right or not. Because this step has to be done in complete darkness I would suggest practicing in daylight first. It hurts to sacrifice a roll but I’d rather destroy one roll rather than many because I wasn’t prepared! Below I've created a short little video to walk your through the steps of how to do this. Just remember the 6 basic steps.
-Pop off lid of film canister, remove lid, push middle post up to retrieve film
-Feel to find the lead of the film and cut off at a straight angle (try not to cut through sprockets)
-Feel for two prongs on reel (or the spring in the video), match up straight edge to prongs (be sure to only grasp film by its' edges)
-Hold film taut as you begin to roll it onto the reel. I would hold film in right hand as you turn reel with your left hand
-Once film is completely on the reel snip off the end of film from middle post
-Place reel in light tight film developing container, make sure lid is secured tightly


Step 4 - The Process of Development
Now, finally time for some chemicals! This process is pretty easy to keep track of, even easier if you follow the steps on the Massive Developer App. Just be sure to have your chemistry mixed and labeled well before you start! (Mixing is pretty self explanatory, just follow the directions on the label of the chemicals)
-PreWash with Water - 1 minute
-Developer – Depending on what film you use this varies. In this case I shot TriX 400 and I’m developing it with D76 with a 1:1 ratio. (1:1 refers to 1 part developer, 1 part water) So, I’ll be developing it for 6 minutes and 30 seconds. When finished pour out developer.
-Stop Bath – For this step you can use a Stop Bath, personally, I like using water. Both are good options. The stop bath stops the development immediately. The water stops development as well but not as instantaneously as the stop bath. Dump stop when finished with this step.
-Fixer - 7 minutes. I’m sure other people vary in what times they recommend fixing. I find that 7 minutes is what I prefer. If your film comes out looking purple this means you didn't leave your film in the fix for long enough. Fixer can be reused up to a certain amount of times, so try and recycle and put the fix back in bottle when your 7 minutes are up.
-Final Wash – 10 minutes. Be sure to take the lid off of the development tank so the film can get a nice good wash.
-Wetting Agent- I dump the tap water from the final wash, fill the canister with distilled water, and then add the wetting agent (about 10 drops). I then rotate the reel just with my finger in the canister for 1 minute.
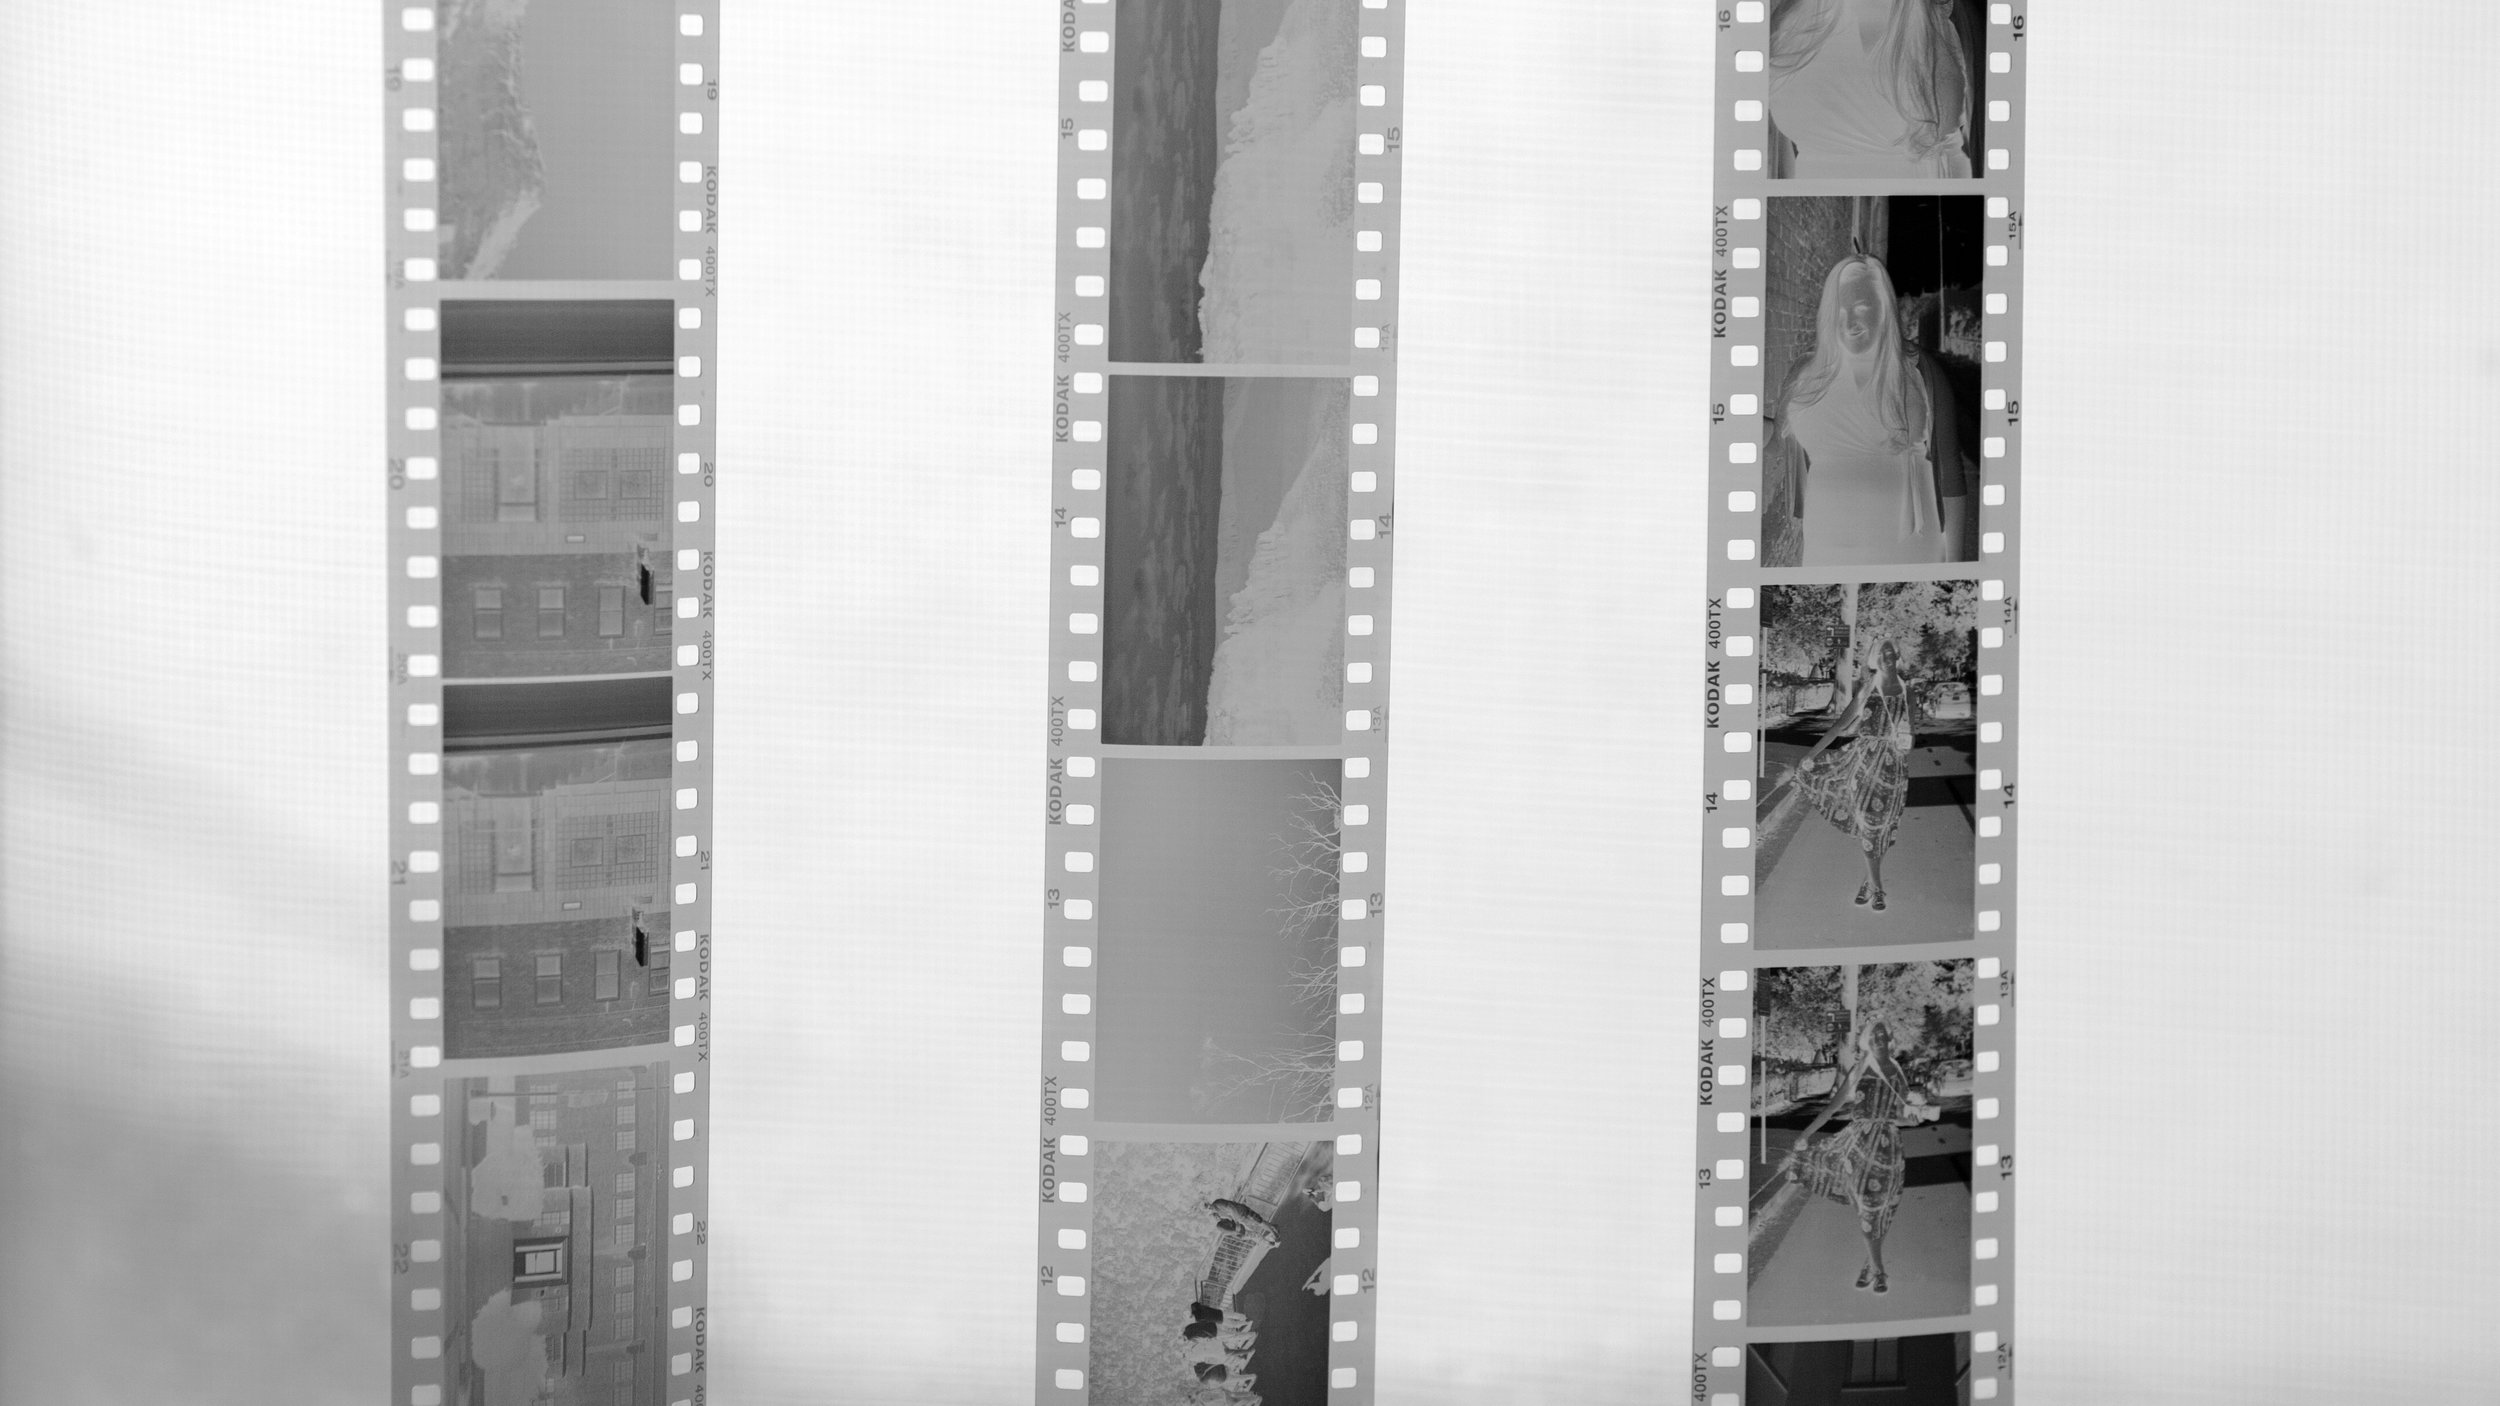
-Dry – Take it off the roll and hang to dry. I find air-drying takes about 45 minutes to an hour. Just be sure to hang it in a place where it will come in contact with the least amount of dust!

Step 5- Enjoy!
You have officially developed your own roll of film. Congratulations! From here you can either print your images with an enlarger in the darkroom or you can scan them. Either way you are now on the way to becoming an official Film Photography Guru.